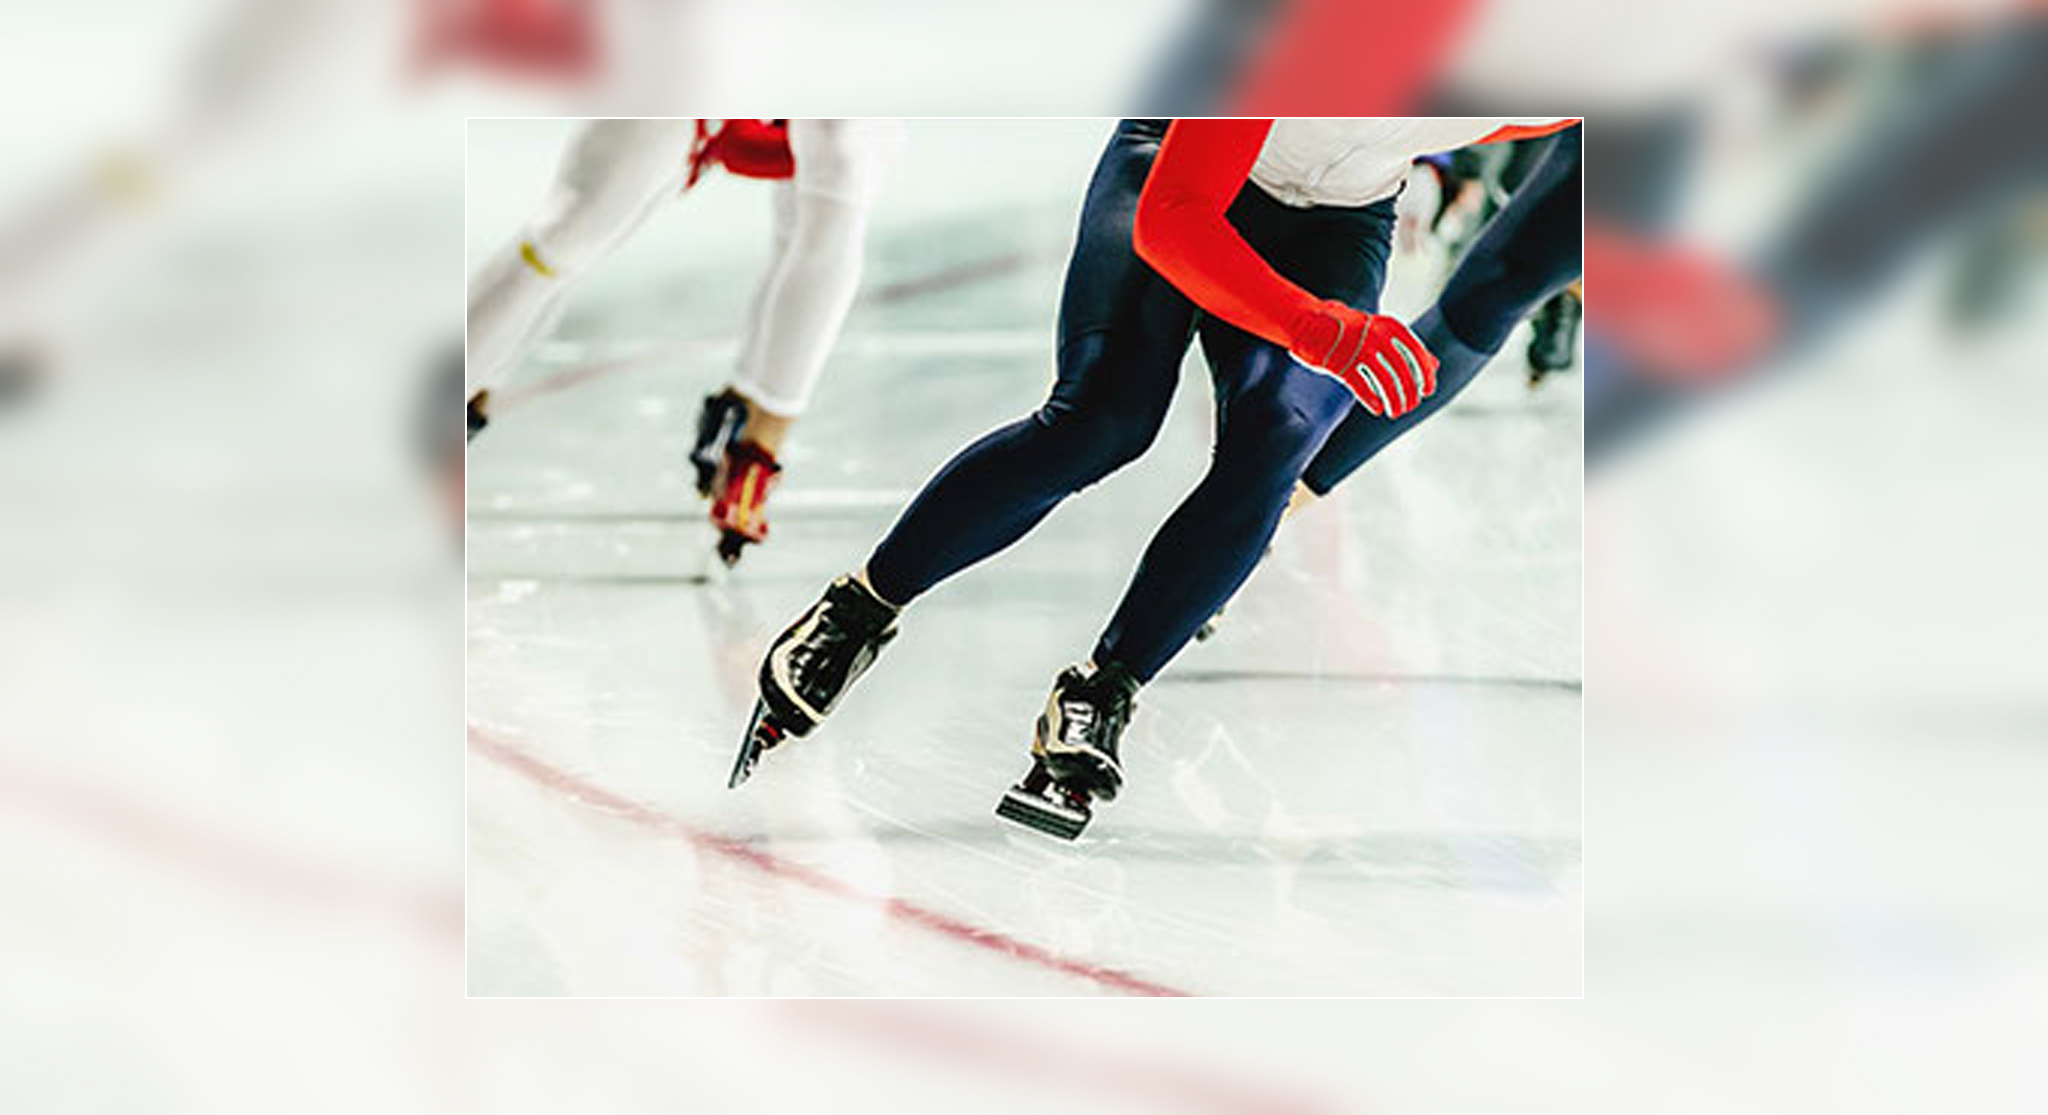
Eliminate the need for hot water when building and resurfacing the ice.
The REALice device forces the water to create an ordered Vortex movement inside the unit to separate the air bubbles from the water and crystalizes the lime particles. These changes created inside the REALice unit eliminates the need to use hot water to build or resurface the ice.
If you’d like to receive
an estimate of your energy savings & ROI,
take 2 minutes to give us more specifics about your arena by clicking on the “Calculator” button
REALice® can be applied to an already existing ice, it is however suggested if you have the time to remake the ice from scratch following our instructions. Please note for all ice making; Don’t trickle fill your ice resurfacer – the water needs to run through your system with a minimum of 45PSI in order to complete the process of taking the air bubbles out.
First, increase the ice temperature to make it easier to shave the ice. Shave the ice to just above lines and/or advertising. After finishing shaving return to the normal ice temperature.
Empty the Ice Machine from normal water. Fill the Ice Machine with ONLY REALice- treated water.
Make sure the pressure (minimum 3bar/43.5psi) and flow (depending on RI size) are correct. In order to get the best effect, the tap must be opened fully to get as much flow as possible. Only use un-heated water.
Add water in thin layers. Adding a layer of water with the Ice Machine should take about 10-12 minutes (Olympic size) 8-10 minutes (NHL size). Drive slowly in the corners to avoid the water been thrown out in the corners and build up dikes.
Turn off the water in places where you will pass several times, such as behind the net.
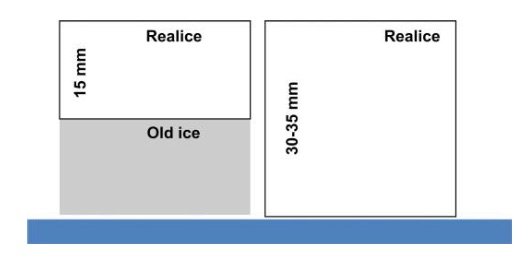
After flooding the ice once, wait until the water is frozen. Repeat the above procedure until you have built some extra 10-15mm or 1⁄2” – 3⁄4”. Total thickness should be about 30mm or 1 1⁄4“.
B. Building new ice with REALice
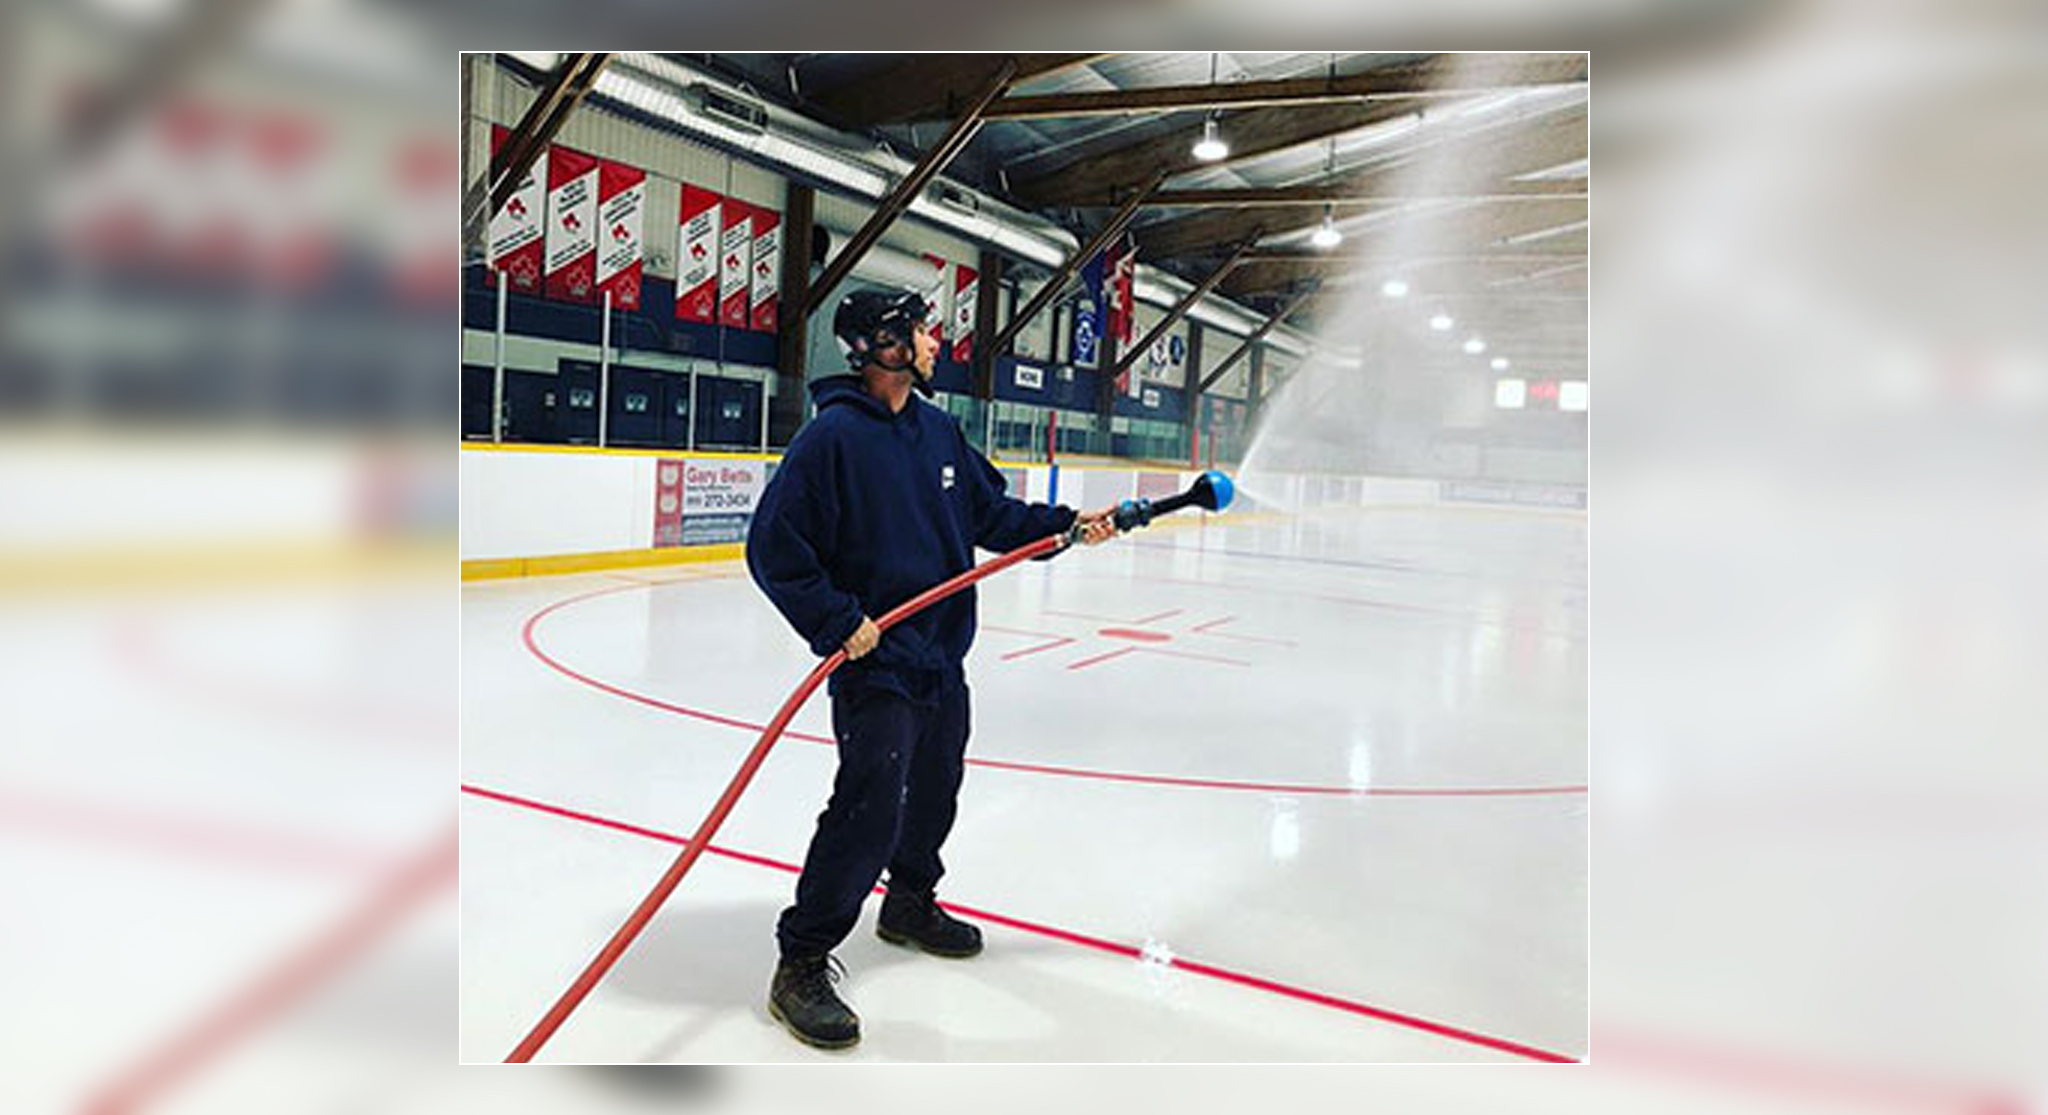
Use the REALICE hand unit only with cold water. The water should be added in thin layers. There will be more water coming out from the unit than it seems to, never stand still move slowly backward, from the short side to short side.
Point the unit at about 45° upwards and move it constantly from one side to the other. Divide the rink into 5 parts until the ice is done. Allow the water to freeze before the next layer is applied.
Repeat this by going the other way, from the long side to long side. Divide the rink into 10 parts. You need to build approximately 10mm or 1⁄2” until the ice is strong enough to use the ice machine.
When building the ice, some minerals and lime in the water will settle on the surface. When you have reached the right height of the ice, about 30mm or 1.20” if you build from start, or about 10-15mm, 0.40– 0.60” REALice-ice if you are building on old ice, you dry-shave the top layer to remove the impurities and smooth the ice.
You then perform the finishing touch on the ice by applying 1-2 layers of REALice water with the Ice Machine.
A. Building ice with REALice on existing ice.
First, increase the ice temperature to make it easier to shave the ice. Shave the ice to just above lines and/or advertising. After finishing shaving return to the normal ice temperature.
Empty the Ice Machine from normal water. Fill the Ice Machine with ONLY REALice- treated water.
Make sure the pressure (minimum 3bar/43.5psi) and flow (depending on RI size) are correct. In order to get the best effect, the tap must be opened fully to get as much flow as possible. Only use un-heated water.
Add water in thin layers. Adding a layer of water with the Ice Machine should take about 10-12 minutes (Olympic size) 8-10 minutes (NHL size). Drive slowly in the corners to avoid the water been thrown out in the corners and build up dikes.
Turn off the water in places where you will pass several times, such as behind the net.
After flooding the ice once, wait until the water is frozen. Repeat the above procedure until you have built some extra 10-15mm or 1⁄2” – 3⁄4”. Total thickness should be about 30mm or 1 1⁄4“.
B. Building new ice with REALice
Use the REALICE hand unit only with cold water. The water should be added in thin layers. There will be more water coming out from the unit than it seems to, never stand still move slowly backward, from the short side to short side.
Point the unit at about 45° upwards and move it constantly from one side to the other. Divide the rink into 5 parts until the ice is done. Allow the water to freeze before the next layer is applied.
Repeat this by going the other way, from the long side to long side. Divide the rink into 10 parts. You need to build approximately 10mm or 1⁄2” until the ice is strong enough to use the ice machine.
When building the ice, some minerals and lime in the water will settle on the surface. When you have reached the right height of the ice, about 30mm or 1.20” if you build from start, or about 10-15mm, 0.40– 0.60” REALice-ice if you are building on old ice, you dry-shave the top layer to remove the impurities and smooth the ice.
You then perform the finishing touch on the ice by applying 1-2 layers of REALice water with the Ice Machine.
Check the ice temperature. Normally you can raise the temperature at least about 2-4°F in relation to your former ice temperature. Ideally, this should be done in steps, by raising the temperature with 1-1.5°F at the time.
Wait about a week, the ice needs to stabilize before you raise the temperature another step. Repeat this until you feel that ice is no longer good. Then lower the ice brine temperature one degree.
In some circumstances, it may be necessary to add some warm water. This is seen more when there is very cold water near 40 degrees F and/or if the brine temp either has not been reset upwards or if there are inconsistencies in resetting the brine temperature. Try adding a little warm water (REALice treated) at a time, if you do not get good results with only cold water.
Note: The recommended unit installation is to allow hot/cold mixing. This can help with the rate of freezing, as does confirm accurate control of brine temperature.
C. Water temperature
Normally, REALICE is used with only cold water. In some circumstances, it may be necessary to add some warm water. Try this by adding a little warm water at a time, if you do not get good results with only cold water.
Normally the water temperature never needs to exceed 18° C, 64° F.
D. Water Pressure
Needs to be at least 45 psi
City water is usually 45 – 60 psi
Avoid trickle filling the ice resurfacer – the pressure is needed to guarantee the REALice treatment of the water
F. Resurfacing Tank
Fill with only REALice® treated water
G. Humidity
High humidity creates rime on the ice and therefore produces more snow. To obtain optimal ice, the humidity in the ice arena should not exceed 50- 55%. Also very low ambient temp, (less than 50F) especially if the temp approaches the dew point can cause fogging and frost/rime on the ice. What is the humidity and dew point?
H. Do not
mix water!
Normal water and REALice-water have different properties and should not be mixed. The different waters have different freezing characteristics and various ice crystals. A mix of water will give you poor ice quality and higher energy consumption.
I. REALice water
The effect of REALice® treatment lasts at least 24 hours. This means that you can fill up the ice resurfacer in the evening before the next day’s work.
K. Wash water
The wash water in the ice resurfacer may need to be slightly warmer (20C/68F), and not cooled by the re-circulating water, to prevent it from clogging. Wash water doesn’t need to be REALice® treated water – or can use REALice® but need to use mixing to make warm.
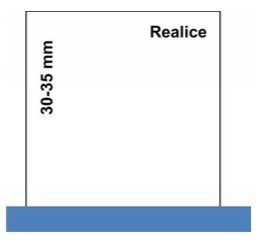
L. Typical ice thickness is about 30mm, or 1.25”
Ice thickness about 30mm, 1.25”. The REALice-ice is usually clearer than ordinary ice. It is difficult to estimate ice thickness. Make it a habit to regularly check that the ice has not become too thick. Thicker ice can use considerably more energy from your chillers It is generally sufficient to have an ice thickness of about 30mm or 1.25”. 10mm/0.40” extra ice is equivalent to 18 m3 /193.750ft2 of ice to keep frozen during the whole season.
C. Water temperature
Normally, REALICE is used with only cold water. In some circumstances, it may be necessary to add some warm water. Try this by adding a little warm water at a time, if you do not get good results with only cold water.
Normally the water temperature never needs to exceed 18° C, 64° F.
D. Water Pressure
Needs to be at least 45 psi
City water is usually 45 – 60 psi
Avoid trickle filling the ice resurfacer – the pressure is needed to guarantee the REALice treatment of the water
F. Resurfacing Tank
Fill with only REALice® treated water
G. Humidity
High humidity creates rime on the ice and therefore produces more snow. To obtain optimal ice, the humidity in the ice arena should not exceed 50- 55%. Also very low ambient temp, (less than 50F) especially if the temp approaches the dew point can cause fogging and frost/rime on the ice. What is the humidity and dew point?
H. Do not
mix water!
Normal water and REALice-water have different properties and should not be mixed. The different waters have different freezing characteristics and various ice crystals. A mix of water will give you poor ice quality and higher energy consumption.
I. REALice water
The effect of REALice® treatment lasts at least 24 hours. This means that you can fill up the ice resurfacer in the evening before the next day’s work.
K. Wash water
The wash water in the ice resurfacer may need to be slightly warmer (20C/68F), and not cooled by the re-circulating water, to prevent it from clogging. Wash water doesn’t need to be REALice® treated water – or can use REALice® but need to use mixing to make warm.
L. Typical ice thickness is about 30mm, or 1.25”
Ice thickness about 30mm, 1.25”. The REALice-ice is usually clearer than ordinary ice. It is difficult to estimate ice thickness. Make it a habit to regularly check that the ice has not become too thick. Thicker ice can use considerably more energy from your chillers It is generally sufficient to have an ice thickness of about 30mm or 1.25”. 10mm/0.40” extra ice is equivalent to 18 m3 /193.750ft2 of ice to keep frozen during the whole season.
M. Gates and doors
Make it a habit to always close gates and doors to both the arena and to the ice rink. Depending on weather conditions, large amounts of warm and moist air goes into the rink, with higher energy costs and poor ice quality as a result, if a gate or door remains open for a longer time than is necessary. Is there an option, an airlock is to be preferred.
N. Ice temperature
(adjusting ice temperature/brine temp and the snowball test)
The ice has only one temperature range where it’s best. If the ice is to warm it becomes soft and tough. If too cold, the ice becomes dry and brittle and it builds up a lot of snow on the ice. The temperature of the optimal range is different from ice rink to the ice rink where each ice rink is unique.
The best way to find the optimal range is to raise ice temperature in small increments, about 1-1.5°F (0.25 to 0.50°C) at a time, and then wait a couple of days.
During this time, study the ice quality. This is repeated until you feel that the ice quality is too bad.
Then you lower the ice temperature one step.
Is there accurate automatic control of the brine temp? How is brine temp for the specific rink measured/controlled?
O. Resurfacing
Ice made of REALice-treated water is more durable than ordinary ice. This means that it does not get as much and as deep scars and injuries in a REALice – ice compared to regular ice. This also means that the water that is added at each resurfacing usually can be reduced. Please be observant of the amount of water so you do not spend too much water. Try your way into a good adjustment. Important is that you shave the ice, not only “collect” the snow, it’s always better to shave more than less. Always have a good, sharp blade installed.
P. One change at a time
An ice rink is a complex, where many components contribute to the overall perceived quality and energy consumption. It requires substantial experience and expertise to get into really good ice. When you make changes and tune the ice rink after having installed a REALICE system, it is important to make just one change at a time to be able to see exactly what the adjustment achieved. There is a certain delay in the ice after an adjustment wait at least a few days before taking further adjustments.
Ice thickness
Resurfacing temperature
Humidity
Spectators Ice temperature
Outside temperature Arena temperature/sun loading Amount of water
Compressor – brine temp setting
M. Gates and doors
Make it a habit to always close gates and doors to both the arena and to the ice rink. Depending on weather conditions, large amounts of warm and moist air goes into the rink, with higher energy costs and poor ice quality as a result, if a gate or door remains open for a longer time than is necessary. Is there an option, an airlock is to be preferred.
N. Ice temperature
(adjusting ice temperature/brine temp and the snowball test)
The ice has only one temperature range where it’s best. If the ice is to warm it becomes soft and tough. If too cold, the ice becomes dry and brittle and it builds up a lot of snow on the ice. The temperature of the optimal range is different from ice rink to the ice rink where each ice rink is unique.
The best way to find the optimal range is to raise ice temperature in small increments, about 1-1.5°F (0.25 to 0.50°C) at a time, and then wait a couple of days.
During this time, study the ice quality. This is repeated until you feel that the ice quality is too bad.
Then you lower the ice temperature one step.
Is there accurate automatic control of the brine temp? How is brine temp for the specific rink measured/controlled?
O. Resurfacing
Ice made of REALice-treated water is more durable than ordinary ice. This means that it does not get as much and as deep scars and injuries in a REALice – ice compared to regular ice. This also means that the water that is added at each resurfacing usually can be reduced. Please be observant of the amount of water so you do not spend too much water. Try your way into a good adjustment. Important is that you shave the ice, not only “collect” the snow, it’s always better to shave more than less. Always have a good, sharp blade installed.
P. One change at a time
An ice rink is a complex, where many components contribute to the overall perceived quality and energy consumption. It requires substantial experience and expertise to get into really good ice. When you make changes and tune the ice rink after having installed a REALICE system, it is important to make just one change at a time to be able to see exactly what the adjustment achieved. There is a certain delay in the ice after an adjustment wait at least a few days before taking further adjustments.
Ice thickness
Resurfacing temperature
Humidity
Spectators Ice temperature
Outside temperature Arena temperature/sun loading Amount of water
* By clicking the “request quote” button you will send the information provided to a sales person in our company and this person will then send you an email with an estimate of your energy savings and a ROI calculation.